 how-to
Troubleshooting Common Golf Cart Brake Issues
Table of Contents
- Start With a Safe, Step-by-Step Diagnostic Flow
- Why Your Golf Cart Brakes Are Not Working
- What to Do When Golf Cart Brakes Keep Locking Up
- Golf Cart Brake Adjustment: Cables, Rods, and Tension
- Golf Cart Brake Shoes Replacement: Signs and Steps
- Drum Brakes vs. Motor Brakes: Why the Fix Is Different
- Common Mistakes to Avoid and When to Call a Technician
- Frequently Asked Questions
Last Updated: October 16, 2026
Start With a Safe, Step-by-Step Diagnostic Flow
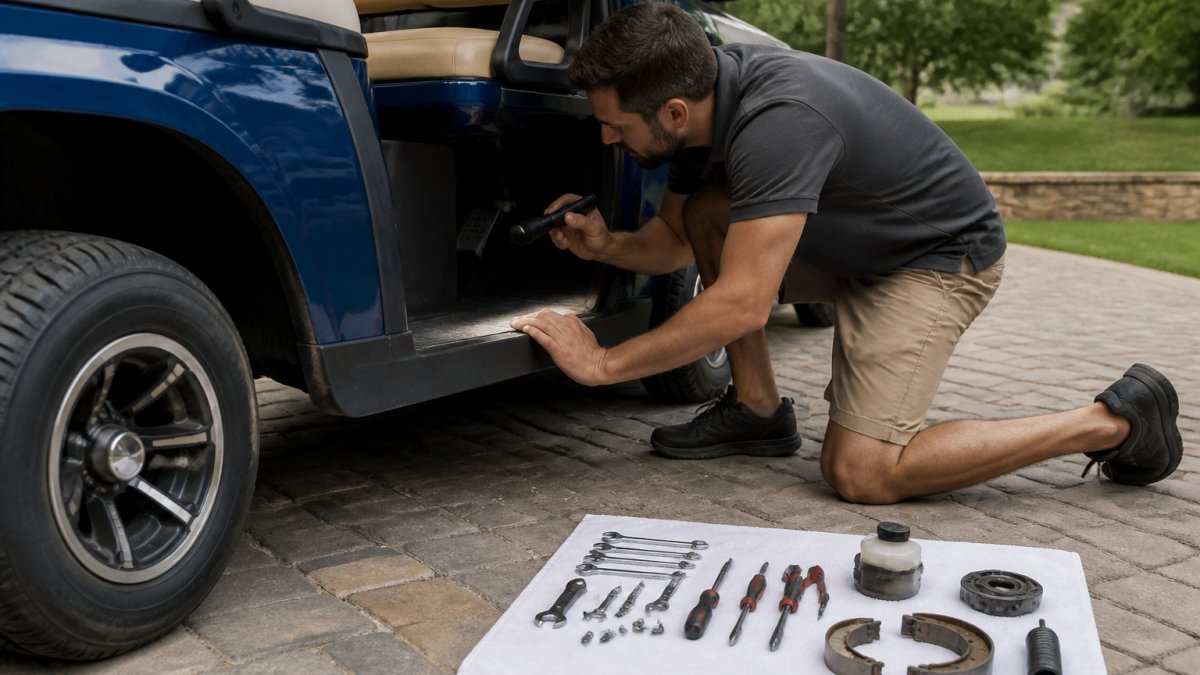
Troubleshooting common golf cart brake issues starts with one rule: park on flat ground, set the parking brake, and lift the cart so all four wheels are off the ground.
At Amplify Your Ride, we see owners replace parts and still have weak brakes. A short, ordered check finds the real cause in minutes.
Work through these steps in order:
- Check the pedal feel with the cart off. Firm, or soft and spongy?
- Lift the cart and spin each wheel by hand. Listen and feel for drag.
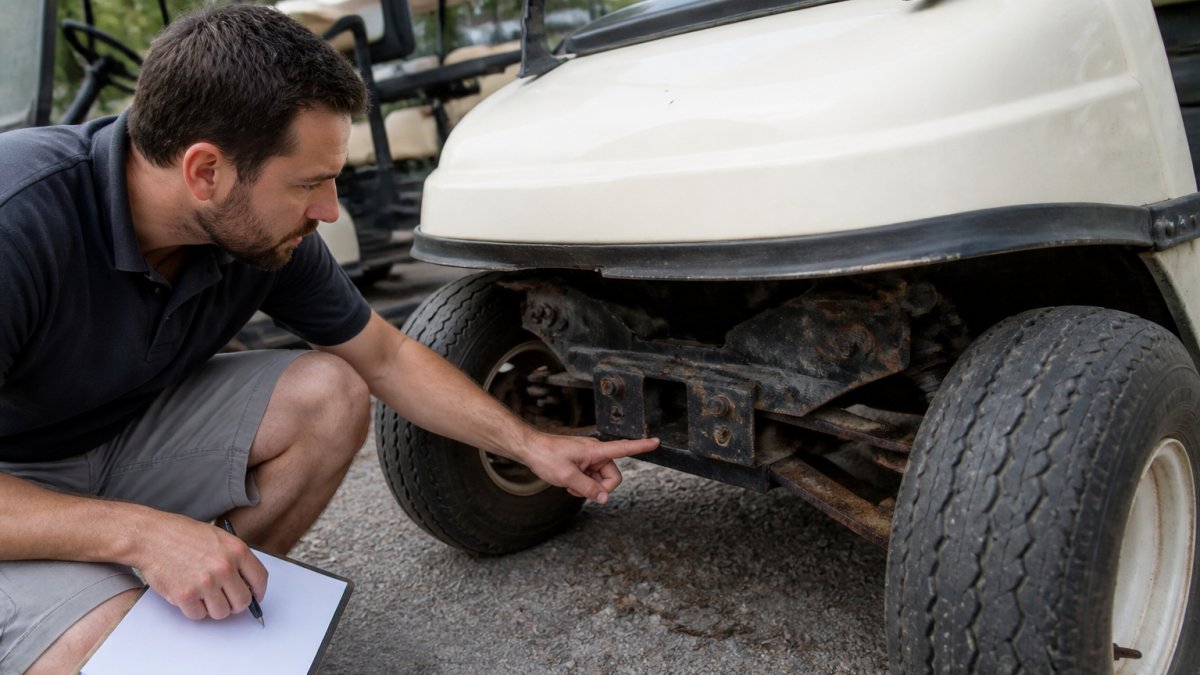
- Look at the cables and rods for slack, rust, or fraying.
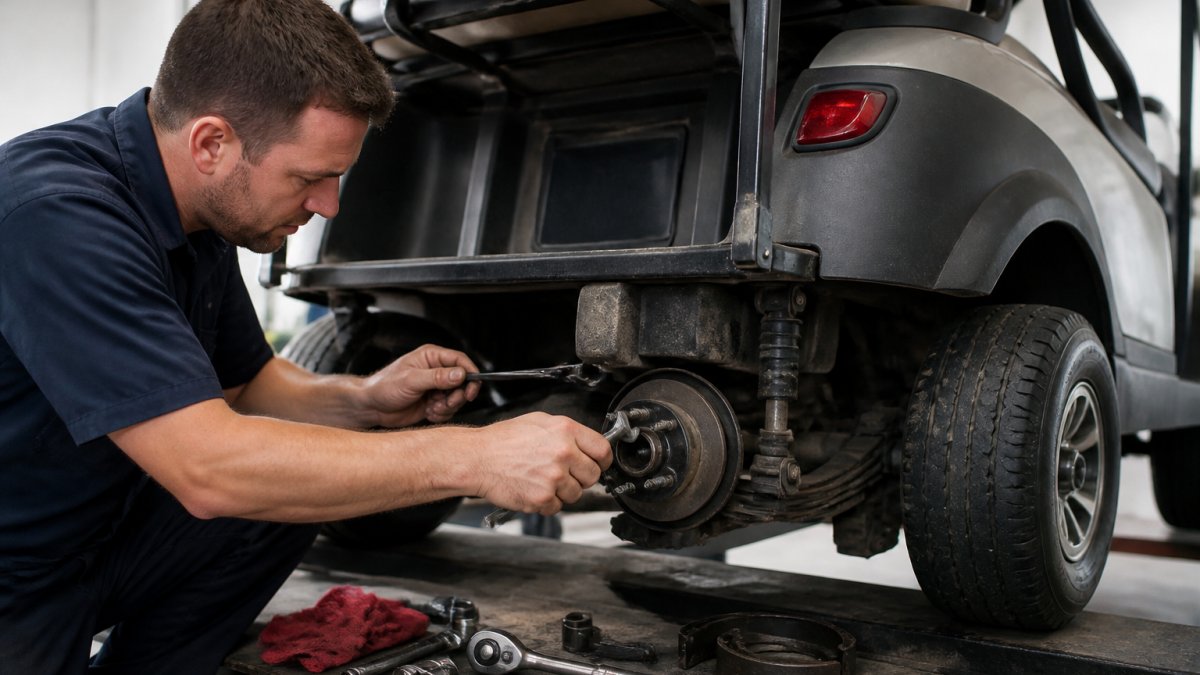
- Pull the rear wheels and inspect the brake shoes.
- Test the brake lights and the reverse alarm while you are back there.
Why Your Golf Cart Brakes Are Not Working
Golf cart brakes not working usually trace back to four causes: worn brake shoes, a stretched or broken cable, a brake rod out of adjustment, or grease or oil on the shoes. Most carts use mechanical rear drum brakes, so the fix is almost always in one of those four areas.
Here is the quick diagnosis:
| Symptom | Likely Cause | First Check |
|---|---|---|
| Soft, spongy pedal | Slack cable or rod | Cable tension at the equalizer |
| Pedal travels too far | Worn shoes or stretch | Shoe thickness and adjuster |
| Grinding or scraping | Metal-on-metal contact | Shoe lining and drum surface |
| Pulls to one side | Uneven adjustment | Both cables, side to side |
| Brakes drag or stick | Rusted cable or seized pivot | Cable movement and pivot points |
What to Do When Golf Cart Brakes Keep Locking Up
Golf cart brakes locking up point to a mechanical fault: a cable that cannot release, a rusted pivot that seizes, or shoes adjusted so tight they never retract.
Try this sequence:
- Disconnect the brake cable at the wheel and test the pedal. If it frees up, the cable is the problem.
- Spray the pivot points and the equalizer with a penetrating oil, then work the pedal by hand.
- Back off the adjuster a quarter turn at a time and re-test.
- Check for a bent brake rod, which can hold tension even when the cable is slack.
A cart that locks up is unsafe to drive. If the cable is frayed or the drum is scored, stop and let a technician handle it.
Golf Cart Brake Adjustment: Cables, Rods, and Tension
Golf cart brake adjustment is the most common fix for weak brakes, and most owners can do it in under an hour.
What you'll need:
- A floor jack and two jack stands rated for the cart's weight
- Two wrenches that fit the adjuster nuts (commonly 1/2 in. and 9/16 in. on many models)
- A tape measure or a small ruler
- Penetrating oil (PB Blaster or similar)
Step 3: Measure pedal free play before you touch anything. [Time: 5 minutes] Press the brake pedal by hand and measure how far it travels before resistance.
Step 5: Test for drag. [Time: 10 minutes] Spin each rear wheel by hand; it should turn freely with a light, even rub and no binding.
When adjustment will not fix it:
- Pedal still travels far after a proper adjustment → worn shoes or a stretched cable
- One wheel drags no matter how you set the equalizer → seized pivot or a kinked cable
- Pedal feels soft but shoes look new → the fault is in the rod or equalizer, not the shoes
- Grinding noise that does not change with adjustment → metal-on-metal contact; pull the drum
Golf Cart Brake Shoes Replacement: Signs and Steps
Golf cart brake shoes replacement is due when the lining wears thin, when you hear grinding, or when the shoes are soaked with grease or oil.
Signs it is time:
- Lining worn to within about 1/16 in. of the rivets or backing plate (most new linings start around 3/16 in. thick)
- Grinding or scraping from the rear wheels that does not change with adjustment
- A pedal that travels far even after a proper cable adjustment
- Grease or oil streaks on the shoe surface, or a wheel cylinder or seal leak nearby
Difficulty and tools: This is a moderate DIY job, most owners with basic hand tools can do one axle in two to three hours.
Step-by-step:
- Lift and secure the cart. Chock the front wheels, lift the rear, and set stands under the frame rails. Remove the rear wheels.
- Pull the drum. On most carts it slides off once the wheel is removed. If it resists, back off the adjuster a few turns and tap the drum face with a soft mallet, never pry on the backing plate.
- Inspect the drum. Look for deep grooves, heat cracks, a pronounced lip, or a rough surface, any of those means machining or replacement, not just new shoes.
- Note how the springs and adjuster sit. Take a photo with your phone before you remove anything. Spring orientation is the most common reassembly mistake.
- Remove the old shoes. Use brake spring pliers to release the return springs, then lift the shoes off the anchor pins. Catch the springs so they do not fly.
- Clean the backing plate. Wire-brush rust and dust, then wipe with brake cleaner. Check the pivot points and adjuster for free movement, a seized pivot ruins new shoes.
- Fit the new shoes. Set them in the layout you photographed. Replace the return springs and adjuster hardware at the same time, reusing worn springs is a common cause of weak brakes after a fresh install.
- Reinstall the drum. Seat it fully by hand, then reinstall the wheel and hand-tighten the lug nuts.
- Adjust cable tension and test for drag. Follow the adjustment procedure above, then spin each wheel by hand to confirm a light, even rub with no binding.
- Torque the lug nuts and lower the cart. Check your manual for the lug torque spec, many carts fall in the 55 to 80 ft-lb range, but this varies by model.
Bedding the new shoes: New linings need a break-in period to mate with the drum surface.
Post-repair test:
- Roll at walking pace and stop straight, no pull to either side
- Re-check pedal free play after the first few stops; cables and shoes settle
- Feel each rear drum by hand after a short roll, it should be warm, not hot
- Re-lift the cart and confirm both wheels spin freely with the pedal released
Replace shoes in pairs. Doing one side only causes uneven braking and can make the cart pull under hard stops.
Drum Brakes vs. Motor Brakes: Why the Fix Is Different
Mechanical drum brakes and motor or regenerative brakes fail in completely different ways, so the fix differs too. Drum brakes use cables, rods, and shoes that wear and stretch; motor brakes rely on electronics, not cables.
| Feature | Drum Brakes | Motor / Regenerative Brakes |
|---|---|---|
| How it stops | Shoes press the drum | Motor resists wheel spin |
| Wears out | Shoes, cables, drums | Controller, motor, sensors |
| Common fault | Soft pedal, drag, noise | Weak or no engine braking |
| DIY friendly | Yes, with basic tools | No, needs a technician |
| Adjustment | Cable tension | Software or controller setting |
If your cart has drum brakes and the pedal feels soft, adjust the cable. If motor braking feels weak, that is an electrical fault, not a cable, call a technician rather than adjusting your way out of it.
Common Mistakes to Avoid and When to Call a Technician
The biggest mistake we see is replacing shoes when the real problem is a stretched cable. Owners spend money on parts and still have weak brakes because the linkage never got fixed.
Other common errors:
- Tightening the adjuster until the wheels drag
- Adjusting only one side and causing a pull
- Ignoring a frayed cable until it snaps
- Reusing worn springs and adjusters with new shoes
Call a technician when you find a broken cable, a scored or cracked drum, a bent rod, or a cart that still will not stop after a proper adjustment.
Frequently Asked Questions
What could be causing the brakes on my golf cart to not work?
The most common causes are worn brake shoes, a stretched or disconnected brake cable, low adjustment at the equalizer, or contamination like grease on the drum. Start by checking pedal travel and cable tension. If the pedal sinks to the floor with no resistance, look for a broken cable or a failed linkage. If the pedal feels soft but the cart still slows, the shoes may be worn or glazed. A step-by-step diagnostic flow helps you isolate the issue before buying parts.
Why do golf cart brakes lock up?
Locking up usually means the brake shoes are not releasing fully from the drum. This can happen when the brake cable is over-adjusted, the return spring is broken, or the shoe pivot points are rusted and sticking. In carts with motor braking, a faulty controller or solenoid can also cause the motor to hold the wheels. Check for dragging by jacking the rear wheels off the ground and spinning them by hand; if they resist, the brakes are not releasing. Adjust cable tension or replace the return spring.
How can I tell if my golf cart brake shoes need replacing?
Measure the shoe lining thickness. Most golf cart brake shoes start with about 3 to 4 mm of lining and should be replaced when they reach 1 mm or less. Other signs include grinding or scraping noises, uneven braking, or a pedal that travels farther than usual. If the lining is contaminated with grease or oil, replacement is also needed because cleaning rarely restores full friction. Always replace shoes in pairs on the same axle.
Can I drive a golf cart with faulty brakes?
No. Driving with faulty brakes is dangerous, especially on hills or in areas with pedestrians. If the brakes are not working, locking up, or making grinding noises, stop using the cart until it is repaired. A golf cart with a failed brake system can roll unexpectedly or fail to stop at low speeds. If you are not comfortable diagnosing the issue yourself, call a qualified technician. Safety should always come before convenience.
A cart that will not stop is a cart that should not be on the road. If your brakes feel soft, drag, or grind, do not wait for the next trip to find out why. Amplify Your Ride offers brake service, parts, and honest diagnostics for every cart we sell, along with new and used sales and rentals for the community. Get started with Amplify Your Ride and get your brakes back to firm, safe, and reliable.